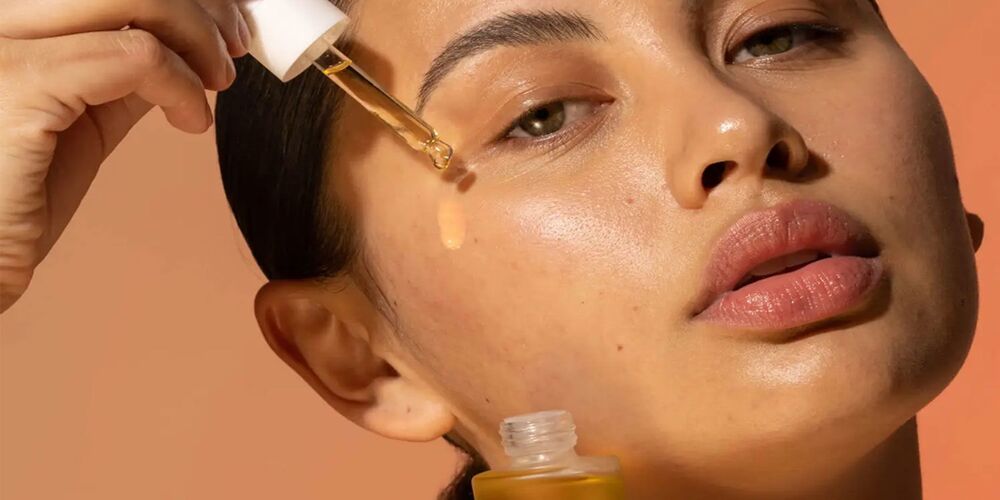
Have you ever tried using facial oil and had a disappointing result? It’s hard to know which is perfect for your skin type, and creating one on your own can be tricky. But the truth is that customizing wholesale facial oils for yourself just takes trial and error.
With the proper guidelines and advice, we’ll explore what oils to choose based on your individual skin goals and needs. Make sure you have all the necessary ingredients ready before starting your experiment. You’re just a few steps away from creating the perfect custom facial oil for your skin type- let’s get started.
Step One: Choose Your Base Oil
- First things first, you need to choose a base oil. This oil makes up the majority of your blend. The best base oils for different skin types are as follows:
- Choose an oil high in oleic acid for dry skin, such as avocado or almond oil.
- If you have oily skin, select an oil high in linoleic acids, such as grapeseed or safflower.
- For combination skin, you can consider an oil in the middle, such as jojoba oil or hempseed oil.
- Finally, for sensitive skin, you can choose a calming and soothing oil, such as chamomile oil or lavender oil.
Step Two: Add in Some Essential Oils
Once you’ve chosen your base oil, it’s time to add some essential oils. These will give your facial oil a pleasant scent and provide additional benefits for your skin. For example, if you want to add a little glow to your complexion, try adding some rosehip seed oil. If you want to reduce inflammation, add some turmeric essential oil. Just ensure not to add more than 3% of essential oils to your blend, as anything more could irritate your skin.
Step Three: Diluting Essential Oils for Use in Facial Oils
Now that you’ve added your essential oils, it’s time to dilute them. This is important because undiluted essential oils can be too strong and cause skin irritation. Add a few drops of base oil to each essential oil to dilute them. This will help weaken the potency and make them safe for use in a facial oil.
Step Four: Mix it Up and Enjoy.
Once you’ve chosen your base oil and essential oils, it’s time to mix them. Start by adding drops of your essential oils into your base oil until you reach the desired scent strength. Then give everything a good stir and enjoy.
Step Five: Storing and Refrigerating Homemade Facial Oils
When storing your homemade facial oil, use a small, dark-colored glass bottle with an airtight lid. This will help to protect it from oxidation and prevent bacteria from growing. It’s also a good idea to refrigerate your facial oil if you use it within a few months. This will help to extend its shelf life.
Shelf Life of Homemade Facial Oils
The shelf life of your homemade facial oil will depend on the ingredients you use and how you store them. Generally, if stored correctly, it should last for about six months. However, it’s always a good idea to use your facial oil as quickly as possible and make a new batch when needed.
Conclusion
Creating a custom facial oil blend is easy and fun! Following the steps above, you’ll end up with a facial oil perfect for your skin type. So what are you waiting for? Get mixing!
